
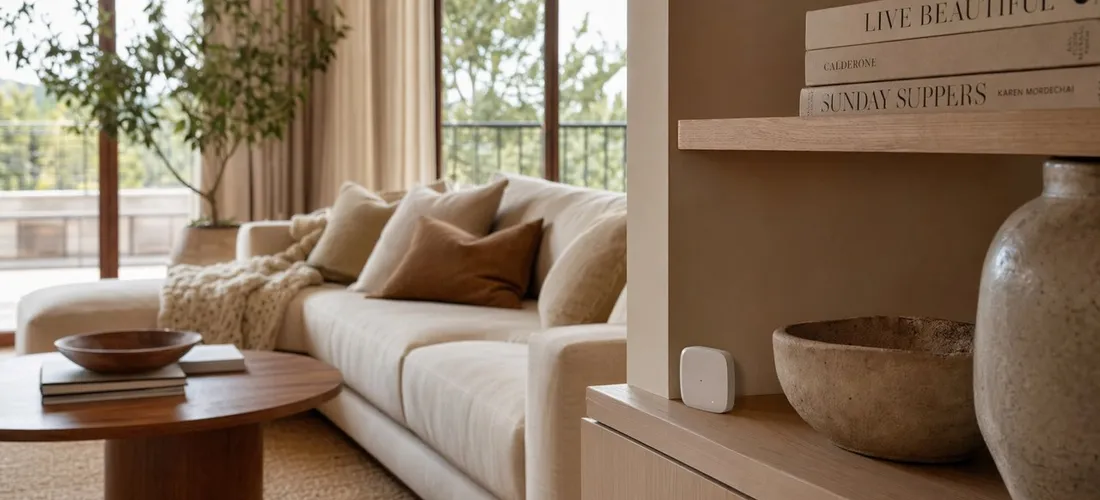
I added a noise monitor to both of my Long Beach units about two years into hosting, and I wish I had done it sooner. Not because I had a party disaster, but because of the incidents I avoided once guests knew the device was there. Noise monitors are one of those tools that quietly do a lot of heavy lifting.
This article covers how noise monitors work, what Airbnb actually requires, how to disclose them to guests, and which devices hosts trust most in 2026.
Key Takeaways
- Airbnb noise monitors measure sound level in decibels. They do not record audio or conversations.
- Airbnb requires you to disclose all monitoring devices in your listing before booking.
- The two most widely used options for STR hosts are Minut and NoiseAware.
- You need one device per room where you want coverage. Most hosts cover the main living space and any outdoor area.
- Setting a quiet-hours threshold (typically 65-70 dB after 10 PM) gives you an automatic alert before a situation escalates.
How Airbnb Noise Monitors Actually Work
A noise monitor does one thing: it measures decibel levels in the space where it is mounted. When sound crosses a threshold you set, the device sends an alert to your phone. It does not listen to or record conversations. It just reads volume, similar to how a thermostat reads temperature.
This distinction matters because a lot of guests hear “noise monitor” and assume you are spying on them. I put a short note in my welcome message clarifying exactly what the device does and does not do. That transparency almost always eliminates any friction.
Most devices connect to WiFi and run on a companion app. You can set custom thresholds by time of day. For example, I allow up to 75 dB during the day (normal conversation, TV, music) and drop it to 65 dB after 10 PM. If the sensor detects a spike that holds for more than a few minutes, I get a push notification.
The device I use, Minut, also detects cigarette smoke and tracks occupancy via motion, which gives me a fuller picture of what is happening at the property without recording anything.
What Airbnb Requires From Hosts
Airbnb requires all hosts to disclose any monitoring or recording devices on the property before a guest books. This includes noise monitors, outdoor cameras, smart doorbells, and any other sensor. Failure to disclose can result in listing suspension.
Here is where hosts often get tripped up: you need to add the device to your listing settings, not just mention it in your house rules. In your Airbnb account, go to your listing, then to Safety and property, and add noise monitors under the monitoring devices section. The disclosure will appear to guests during the booking process.
For your house rules, a simple statement works well. Something like: “This property has a noise decibel monitor in the living area and on the patio. It measures sound levels only and does not record audio. Quiet hours are 10 PM to 8 AM.”
Guests who see this upfront rarely object. In my experience, knowing the device is there sets the right expectation before anyone even arrives.
Minut vs. NoiseAware: The Two Hosts Use Most
Both Minut and NoiseAware are solid options. The right pick depends on your property type.
Minut is the better choice for most individual hosts and small-portfolio operators. It works without a hub, connects directly to WiFi, and packs in extra features beyond noise: cigarette smoke detection, motion sensing, and temperature and humidity monitoring. The app is clean, the alerts are fast, and the monthly subscription is reasonable (around $10-15 per device per month depending on your plan). Minut works especially well for indoor-only setups.
NoiseAware is built more for larger properties or hosts who need outdoor coverage. It has both indoor and outdoor units, handles complex multi-zone setups, and integrates smoothly with property management systems. If you manage a large home with a pool area or a detached guest house, NoiseAware gives you more flexibility. The trade-off is that it requires a hub and costs more to deploy at scale.
For a two-unit property like mine, Minut is plenty. I have one sensor in each living room, and that covers the spaces where noise problems actually start.
A few other options worth knowing:
- Alertify: Combines noise, smoke, and occupancy detection. Solid for hosts who want a single device to do multiple jobs.
- Party Squasher: A budget-friendly option that focuses only on decibel levels. Fine for hosts on a tighter budget who want basic coverage.
Where to Place the Device and How to Set Thresholds
Placement matters more than most guides admit. The goal is to detect noise at the source before it carries to neighbors. A few rules that work for me:
Living room or main gathering area. This is where parties start. Mount the device on a shelf or wall at about 5-6 feet high, away from the TV speaker or any HVAC vent that could cause false alerts.
Outdoor spaces. If you have a patio, deck, or backyard, add a second device there. Outdoor noise is often what neighbors complain about, not indoor noise.
Not in bedrooms or bathrooms. This is a firm line. Guests have a reasonable expectation of privacy in sleeping and bathing areas, and placing a sensor there violates Airbnb policy.
For thresholds, I recommend starting conservative and adjusting after a few weeks. A good starting point:
- Daytime (8 AM to 10 PM): 75 dB alert threshold
- Nighttime (10 PM to 8 AM): 65 dB alert threshold
65 dB is roughly the volume of a normal conversation. 75 dB is closer to a lively group. If you get too many false alerts in the first week, bump the thresholds up by 5 dB.
How a Noise Monitor Protects Your Superhost Status
A single noise complaint from a neighbor can escalate quickly. The city can get involved, the HOA can file a report, and Airbnb can flag your listing. Once you have a complaint on record, it affects your ability to maintain Superhost status.
A noise monitor gives you a window to intervene before any of that happens. When I get an alert, I send a quick message through Airbnb: “Hey, just a heads up that the noise sensor picked up some elevated sound near quiet hours. No worries, just a reminder to keep it at a conversational level after 10. Let me know if you need anything.” That is almost always enough.
The fact that I can point to documented, timestamped alerts also protects me in the event a neighbor files a complaint anyway. The device log shows exactly when levels spiked and how quickly I responded.
If you want to see how a noise monitor fits into a broader property setup, check out my post on the best Airbnb amenities to add to your listing for a full breakdown of the tools worth investing in.
One More Thing: Put It in Your Guest Info
Beyond your Airbnb listing settings and house rules, I put a brief note about the noise monitor in my digital guest guide. I explain what it does, where it is, and what quiet hours mean for their stay. Guests who read this before check-in almost never have questions about it.
If you do not have a guest guide yet, that is worth building out. I use The Complete Airbnb Guidebook Canva template to keep all of my property info, house rules, and local recommendations in one place. The noise monitor disclosure fits naturally in the house rules section, right next to quiet hours and parking.
A noise monitor is a small investment that pays off in fewer neighbor calls, fewer headaches, and a listing that stays protected. Once you add one, you will not host without it.